
Buy PDF guide

Buy PDF guide — 29.99 USD

PDF — 29.99 USD

Auckland

Auckland

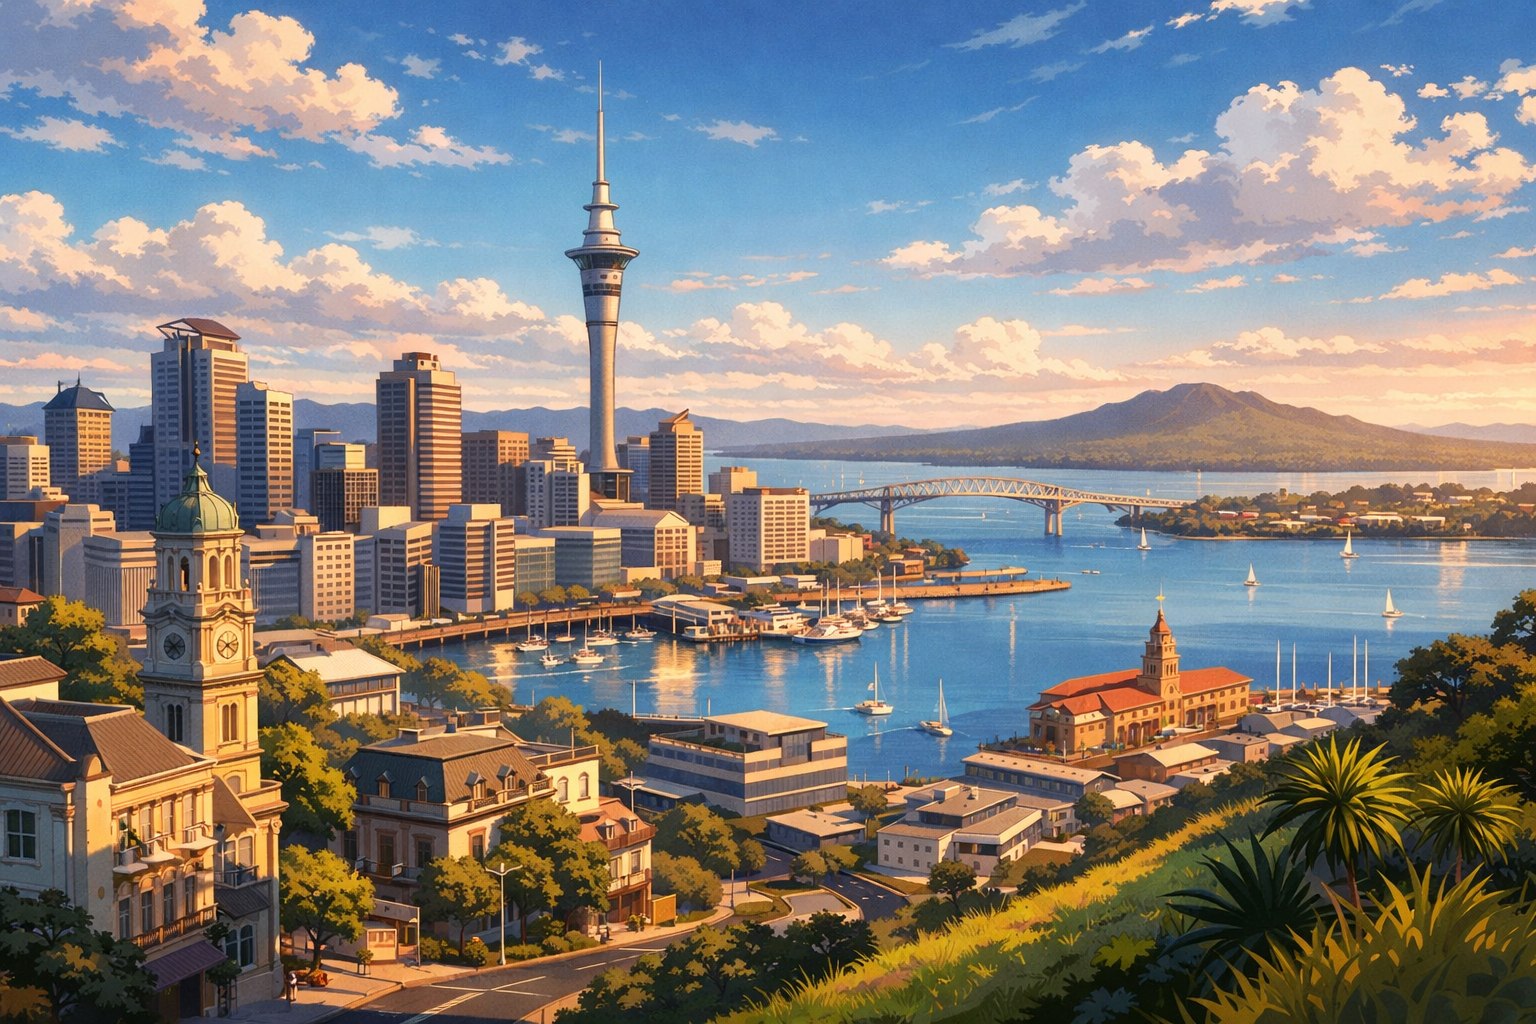
Auckland pairs a lively CBD and Viaduct Harbour with leafy escapes in Parnell and the Domain, then drifts across the water to Devonport and Waiheke’s easy island charm. From Western Springs to the sweep of Mission Bay, the city feels fresh, coastal, and effortlessly outdoorsy.

🧭 DAY-BY-DAY ITINERARY

Ready-made country and city routes with daily plans, sights, transport and accommodation. Buy PDF guides for independent travel.

🧭 DAY-BY-DAY ITINERARY


Day 1 — Auckland: getting to know the CBD, Sky Tower, and the waterfront district

  • 🚶 It’s best to keep the first day gentle and introductory: after your flight, check into a hotel in the central part of the city and don’t overload yourself with long transfers. Start with a walk through the CBD — Auckland’s compact, hilly, and very “port-like” center. Walk around the area near Sky Tower, then head down to Federal Street, Queen Street, and onward to Commercial Bay and the waterfront. In 2–3 hours on foot, it’s easy to get a feel for the city’s main character here: glass towers, sea air, cruise piers, café terraces, and the sense that water is always somewhere nearby. Leave at least 2 hours in the daytime for acclimatization and rest after the journey. In the evening, it’s better not to plan museums: a short walk along Quay Street and dinner by the harbor will be enough. Walking between the main points in the center usually takes 10–25 minutes, and if you get tired, it’s easy to cover short stretches by taxi.


Day 2 — Auckland: Viaduct Harbour and Wynyard Quarter

  • 🚶 Dedicate the day to the waterfront and the rhythm of the modern city. In the morning, head to Viaduct Harbour — one of Auckland’s most photogenic areas: yachts, bridges, water, restaurants, and the calm feeling of an upscale but not overly pretentious maritime city. Then continue into Wynyard Quarter, where a former industrial zone has been turned into a pleasant place for walking. This works well as a “slow day”: 1–1.5 hours for a leisurely breakfast, then a walk along the water, short stops on the piers, rest on benches, and coffee breaks. It’s easy to walk between Viaduct Harbour and Wynyard Quarter — about 10–20 minutes between the main points. In the evening, head back to the center on foot as well. This day is light on logistics and ideal for getting used to the city’s terrain and its changeable weather.

Day 3 — Auckland: Auckland Art Gallery, Albert Park, and the center

  • 🏛️ Today is a good day to build the cultural foundation of the city center. Start with Auckland Art Gallery Toi o Tāmaki — the best option for your first major museum in the city: its collection helps you understand the European, New Zealand, and Pacific context alike. After the museum, walk through Albert Park — a green pause right next to Auckland’s business district. This kind of day is best done without rushing: 2–3 hours for the gallery, then 30–40 minutes for the park, after which you can head back down to Queen Street. Distances in central Auckland are short, but some streets are steep, so allow an extra 10–15 minutes for climbs and rest. Keep the evening free: either dinner in the center or a short trip up to the Sky Tower observation deck if you want to see the city after getting your bearings rather than “straight off the plane.”

Day 4 — Auckland: Auckland Domain, the museum, and Parnell

  • 🌿 One of the most beautiful and “classic” days of the trip. In the morning, head to Pukekawa / Auckland Domain — the city’s oldest and one of its largest parks, spread across ancient volcanic terrain. At the center of the park stands the Auckland War Memorial Museum: it’s worth coming here not only for the exhibitions, but also for the building’s elevated setting. After the museum, don’t rush off — the Domain itself deserves a long walk, especially if you need a break from the center. Then continue to Parnell: a calmer, tidier district with historic facades, galleries, and cafés. From the CBD, the Domain is an easy 10–20 minute bus or taxi ride, and once in the area it’s best to get around on foot. Allow half a day for the museum and park walk, and another 2–3 hours for Parnell without hurrying.

Day 5 — Auckland: Devonport and harbor views

  • ⛴️ A day for a short seaside escape without complicated logistics. From the Downtown Ferry Terminal, take the ferry to Devonport — the ride itself already feels like a mini-excursion with beautiful views of the city skyline and the waters of Waitematā Harbour. In Devonport, the atmosphere changes immediately: less business pace, more calm seaside architecture, small shops, and a walkable village scale. It’s pleasant to spend almost the whole day here: stroll through the village, linger over coffee, climb to viewpoints, and simply look back at Auckland from across the water. The format of the day is nicely balanced: around 10–15 minutes on foot to the terminal in the center, the ferry crossing itself, and then lots of walking without transport. It’s best to plan your return closer to sunset — Auckland’s skyline is especially beautiful from the water in the evening light.

Day 6 — Auckland: Waiheke Island — wineries, bays, and island rhythm

  • ⛴️ This is a full day trip, so start early. In the morning, take the ferry from the center to Waiheke Island. The island feels like a separate world: more light, broader views, a mix of wineries, beaches, hills, and a relaxed pace. There’s no need to try to “cover everything” here — it’s better to choose 2–3 key stops, leave time for the road between them, lunch, and at least one long break overlooking the water. The crossing itself and getting around the island take up a noticeable part of the day, so your plan should include a time buffer. The best scenario is to leave in the morning, return in the evening, and not schedule anything essential at night. If you don’t want to drive, use local buses, taxis, or a pre-booked island transfer.

Day 7 — Auckland: Maritime Museum and another evening by the water

  • ⚓ After an island day, it’s good to return to a calmer city plan. Visit the New Zealand Maritime Museum in Viaduct Harbour — a museum that feels especially fitting in Auckland because it helps explain the city’s maritime nature and its links to ports, exploration, and the culture of the Pacific world. After the museum, don’t jump straight into another packed program: it’s better to leave time for lunch by the water and a second, now more thoughtful walk through Viaduct Harbour. This is one of those cases where revisiting a place works in your favor: the familiar waterfront begins to feel less like a postcard and more like part of a living city. Distances here are short — 5–15 minutes on foot between the museum area, piers, and cafés. The evening can end slowly, without any long transfers.

Day 8 — Auckland: Western Springs, MOTAT, and Auckland Zoo

  • 🚌 Today it makes sense to leave the center and head to Western Springs. This is a day that works well as a combination of the MOTAT technology museum and Auckland Zoo: they’re close to each other and pair well together, but still, don’t try to do both too deeply. It’s better to choose one as the main focus and the other as a lighter continuation. From the center, the trip by bus or taxi usually takes about 15–30 minutes depending on traffic and your starting point. Allow 2–3 hours for MOTAT and another 2–3 hours for the zoo, plus breaks for food and rest. It’s a full day, so don’t forget the physical side of it: the grounds are large and you’ll be doing a lot of walking. Don’t plan anything far away for the evening — after returning to the CBD, it’s best to leave only dinner and rest.

Day 9 — Auckland: Mission Bay, Tamaki Drive, and “sea air without rushing”

  • 🌊 After an active museum day, give yourself some visual and physical downtime. Mission Bay and Tamaki Drive are an excellent choice for a long walk along the water when the process matters more than “checking sights off a list.” From the center, it’s easy to get here by bus or taxi in about 15–25 minutes, after which you can simply walk along the waterfront, stop for coffee, look out over the Hauraki Gulf, and ease into the day. In good weather, the area is especially pleasant in the second half of the day. There’s no need to build a complicated plan here: the scenery itself, the line of the water, and the city-at-leisure atmosphere do the work for you. It’s helpful to keep some time in reserve for wind, changing weather, or just the desire to sit by the sea longer than planned.

Day 10 — Auckland: a free day in the center or catching up on missed places

  • 🚶 It’s best to keep this day flexible. Auckland opens up not through a marathon of sights, but through repeat walks, pauses, and changes of pace. You can return to a favorite area — for example, walk again through Commercial Bay, Queen Street, Viaduct Harbour, or head up to Parnell. Another option is to use the day as a “buffer” for bad weather and move an island or park plan here if rain got in the way earlier. In the center, distances will again be short: 10–20 minutes on foot between key districts. A good format for the day is a late breakfast, unhurried shopping, one cultural stop if you feel like it, and a long evening without rushing. On a long trip, a day like this is very important: it doesn’t look “empty,” but in fact it gives you space to breathe and gather your impressions.

Day 11 — Auckland: Auckland Botanic Gardens — a green day in the south of the city

  • 🌿 This is a longer outing, so plan it as a separate route for most of the day. Auckland Botanic Gardens lies south of the center, and the drive from the CBD by car or taxi is usually noticeably longer than trips to the city museums; by public transport it will take even more time and involve transfers. But that is exactly why the trip works as a change of scale: from the port center, you move into a large green space with plant collections, open paths, and a very calm pace. There’s no need to rush here — the botanic garden is valuable precisely because it lets you switch off the “see everything at once” mode. Allow at least half a day, and ideally almost the whole day including the journey and rest. Plan your return to the center in advance, especially if you’re not using a car.

Day 12 — Auckland: Tiritiri Matangi or a marine nature excursion of your choice

  • 🐦 If you want a strong nature experience, dedicate the day to Tiritiri Matangi Island. This is no longer a city walk but a separate excursion with fixed logistics, where it’s very important to check the ferry schedule in advance and arrive with extra time before departure. A day like this gives you a completely different Auckland: not urban, but island-like, windy, and remote, with nature truly taking the lead. You need to account for the time to get to the pier, the sea crossing itself, walks on the island, and the return trip — together it’s almost a full day. If that format feels too long, use the day as a backup for a less complicated nature plan, but in terms of mood, this option adds a great contrast to the trip.

Day 13 — Auckland: neighborhoods of small discoveries — Parnell, Britomart, Commercial Bay

  • ☕ One of the best final-day formats is not major sights, but a day of small discoveries. Pick 2–3 neighborhoods you already liked and connect them into a relaxed route. For example: morning in Britomart or Commercial Bay, then a walk into the center, and later Parnell. This kind of day works well for souvenirs, coffee shops, local stores, a return visit to a museum shop you liked, or simply beautiful city shots without rushing. You’ll hardly need transport: part of the route can be done on foot, and for more distant sections you can use a bus or a short taxi ride. The point of the day is to feel the city as already “your own” — without mandatory stops and with room for spontaneity.

Day 14 — Auckland: a final loop by the water, the last sunset, and a calm departure

  • 🌅 On the last day, don’t burden yourself with a new big plan. Leave time for packing, a late breakfast, and a short “lap of honor” through your favorite places: this could be the Downtown waterfront, Viaduct Harbour, a harbor view, or one more walk beneath Sky Tower. If your flight is late, you can do a light 2–3 hour route; if it’s early, limit yourself to one beautiful district near the hotel. It’s best to leave for the airport with extra time: if you choose SkyDrive, the trip from the center to the terminals can be quick and direct, but it’s still better to allow additional time for transfer and waiting; with a taxi or shuttle, there can also be fluctuations due to traffic. The end of Auckland is best built not around one more “must-see stop,” but around the feeling of the city — maritime, bright, windy, and very alive.

Flight tickets

eSIM for travel

Buy PDF guide

Buy PDF guide — 29.99 USD

PDF — 29.99 USD